Auth Method

Forearms for the Feet

By Shari Auth
[Feature]

In massage school, I received 15 hours of reflexology training as part of a 600-hour program. It was during this training that I first witnessed maps corresponding various body parts and organs to specific areas of the foot. I traced across the sole of my partner’s foot while looking at reflexology maps. I’d heard stories from people who traveled in Asia that reflexologists could diagnose headaches, digestive problems, and other physical ailments.


Although I didn’t receive enough training to diagnose such things, and didn’t think this limited training allowed me to put reflexologist on my business card, I did come to know that I could give a great foot massage. I could work out “crystals” on the sole of the foot, stimulate nerve endings and all the organs I could remember from the reflexology map, and turn tired and achy feet into light and happy ones. The only problem was that all this work was done with my thumbs.

If a client came in with really tight feet—or even worse, plantar fasciitis—I would diligently use my thumbs to break up the tension on the sole of the foot. Although this was effective and felt good for the client, it was exhausting for my thumbs. I knew from massage school that one of the more common injuries among massage therapists is a thumb or thenar injury. There had to be an easier way to do this work.

Massage is a labor-intensive profession. The key to longevity is learning how to work smarter—meaning clients get the relief they are looking for and the practitioner uses as little energy as possible to fulfill this goal.

There were a few factors holding me back from giving an effective yet effortless foot treatment to my clients. First was the position. The supine position allowed me no leverage to work the sole of a client’s foot. Second, the thumbs are not an adequate tool for performing massage long-term; they are too fragile. And finally, I wasn’t doing enough massage on the muscles of the calf that attach on the bottom of the foot.

I decided to have my client lie in the prone position so I could use my body weight to drop down onto the sole of the foot. I couldn’t use body weight to engage the sole of the foot with my client in the supine position; instead, I had to push my thumbs horizontally into the sole of the foot. Using body weight to sink into tight tissue and wait for a release takes little effort; using muscular force to engage the tissue takes a lot more energy.

I also began using my forearms to work the plantar surface of the foot, instead of my thumbs. Because the forearms are more durable than the hands, fingers, or thumbs (and with practice are just as sensitive), they are a bodyworker’s most prized tool.

By using my body weight and forearms, I could work out the bulk of the tension in the sole of the foot and polish off the toes with my hands in the supine position. This took the work out of the job and was much easier on my thumbs.

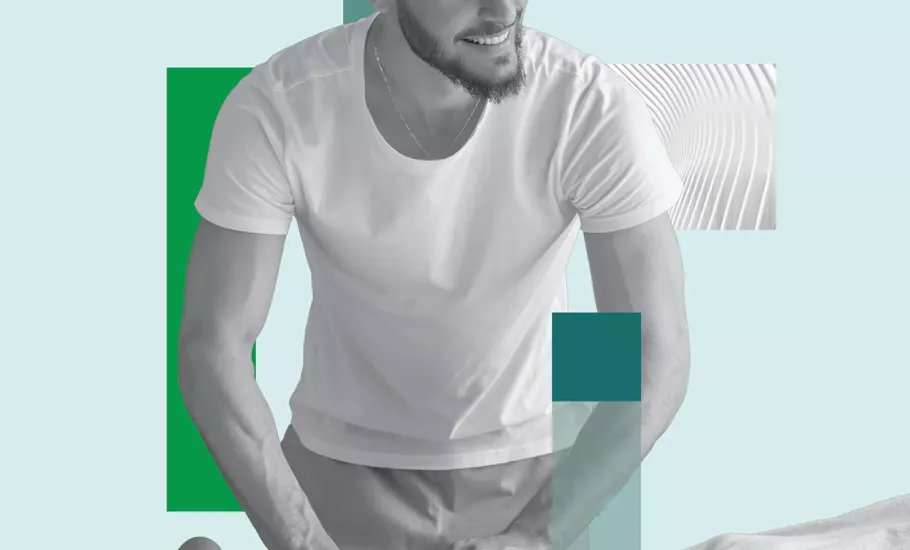
These concepts of efficacy and efficiency led me to design the Auth Method of Forearm Massage with the health of the practitioner’s body in mind. This method teaches how to use the forearms to work the entire body, including the feet. It also addresses how to hold the rest of your body while using your forearms. By using the forearms and practicing good body mechanics, the practitioner can work longer with less wear and tear on his or her body. The Auth Method is also designed to blend in with existing massage routines.

Auth Method
Foot Protocol

A treatment protocol designed for the sole of the foot must include the muscles of the calf with tendons that attach to the sole—namely the tibialis anterior, the gastrocnemius, and soleus. Tightness in these muscles can often contribute to tightness on the sole of the foot. To begin, start by working the gastrocnemius, then the sole of the foot, followed by the tibialis anterior, and then finish by polishing the foot with your hands and integrating in your existing foot massage routine.

Calf Glide Technique

Stand alongside your client’s calf in a lunge stance facing down his or her leg. Be sure that your outside leg, or the leg farthest from the table, is in front of you and the leg closest to the table is behind you. This allows the front of your torso to be open toward the area you’re working on—in this case, the calf muscle. Bend your front knee slightly. Your front foot and your client’s ankle should be in line with each other. Place the upper forearm closest to your client at the top of the gastrocnemius, just below the popliteal fossa. Take your other hand and place it under the ankle. Glide your forearm down the calf to the Achilles tendon, sinking your body weight down between the heads of the gastrocnemius (Image 1 on pages 62 and 63, and Image 2 at left).

As you glide down the leg, bend the knee of the front leg; it is the bending of the knee that takes you forward in the stroke. At the end of the stroke, lighten your pressure and glide up the inner calf back up to the top of the calf, and repeat. Work layer by layer, patiently dropping your body weight onto the first layer of tight tissue. As that layer releases, you will sink into the next layer of tight tissue. Work patiently and methodically, waiting for releases in the tissue. By doing this, not only will the massage work you do be thorough and effective, but your client’s experience will be less painful and more enjoyable. Remember, massage isn’t something we do to our clients, it is something we do with them. Listen to your client’s body—it will tell you how fast and how deep to go.

Repeat this stroke as necessary, or reposition your forearm medially and laterally to glide down the belly of each head of the gastrocnemius all the way to the Achilles. This stroke can be done with or without a bolster.

Sole of the Foot Forearm Technique

After working the muscles and fascia of the back of the calf, it is time to work the sole of the foot. Reposition yourself so you are standing down by your client’s feet, facing his or her head. Depending on the height of your client, stand either alongside the table by his or her feet or at the bottom corner of the table. If there’s room, I like to put one hip on the table. This allows me to give my own feet a rest while working. Again, massage is labor-intensive, so conserve your own energy when possible. If you’re sitting on the table, keep one foot on the ground, connected to the earth. Take the hand farthest from your client and position it under your client’s ankle for support. Position your upper forearm (this includes your elbow—not the point of the elbow, but the continuation of the forearm) at the top of your client’s heel. Glide your forearm from the top of the heel to the ball of the foot, contacting the entire surface area of the sole of the foot (Image 3 at left). Angle your forearm with the contours of the arch of the foot. To increase the intensity, drop more of your body weight down onto the foot, stabilizing with your other hand. Remember, the foot supports your client’s entire weight; it can take a lot of pressure. At the end of the stroke, lift your forearm off the foot and begin the stroke again, slowing down as necessary to wait for releases in tight areas of the foot. Patiently work layer by layer, waiting for releases in the plantar fascia.

Reposition your forearm medially and laterally to get different angles
on the sole of the foot, focusing on
the inner and outer arches of the
foot, as well as any areas that need special attention.

After you’ve thoroughly massaged the sole of the foot, have your client turn over to the supine position and begin working the tibialis anterior. The tibialis anterior’s tendon spreads along the arch of the foot, so tension in the tibialis can contribute to tension in the arch of the foot.

Tibialis Anterior Forearm Technique

Working the tibialis anterior with the forearm can be done with either forearm, depending on your position. Stand by your client’s feet with your left hand under your client’s left ankle and your right upper forearm at the top of your client’s tibialis anterior. Glide your forearm down the tibialis anterior all the way to the front of the ankle (Image 4). Repeat this stroke on both sides and as many times as needed.

For more leverage and a deeper stroke, stand alongside the table at the level of your client’s knee. Spread your stance so that one foot is at the level of your client’s ankle and the other is at the level of your client’s hips. Keep your back straight. Position your upper forearm closest to your client’s feet at the top of the tibialis anterior and rest your other forearm on your client’s thigh. Glide down the tibialis anterior with your forearm (Image 5). Position your torso so that you are hovering over the leg and can effectively use your body weight to drop into your client’s tissue. As you glide down the tibialis, bend the knee that is closest to your client’s feet; this will move you down the tibialis anterior. Coordinating the bending of the knee with the stroke integrates the movement within your own body, resulting in better body mechanics.

Reserving Your Hands for the Finer Things

Now that the bulk of the tension from the plantar surface has been released, you can integrate your usual foot routine, knowing the deep work is done and you have reserved your hands for doing your fine-tuning work on the feet. Use your hands to polish off the toes and work the top and sides of the foot, stimulate points, or do soothing strokes.

Foot massage is a favorite among clients, but the sole of the foot is used to withstanding a lot of pressure, and tension in the foot can be deep and difficult to release. Big jobs require big tools. Using your forearms instead of your thumbs and practicing good body mechanics will contribute to your career longevity and a happier you.

 Shari Auth is a licensed massage therapist and acupuncturist, and is certified in the Rolf method of structural integration. She is the creator of the Auth Method and has a full-time practice in New York City. Auth teaches continuing education workshops and has a DVD, Auth Method of Therapeutic Massage: A Guide to Using the Forearms. For DVD and workshop information, visit www.authmethod.com. To contact or learn more about her practice, visit www.shariauth.com.